Sunday, November 18, 2012

Wiring and A/P Servo Installation


Mounted the back-up battery for the Skyview system. Used the same plate that the transponder is on.


I added some temporary labels to keep the wiring straight on the terminal strip in the left passenger footwell. This will be covered by the the footwell inserts. Once the wings are mounted I can hook the wing wiring up here.


The Flap Position sensor (pos-12) is taped tothe area where it will be needed along with plenty of extra wire. The flap motor will be mounted on the rear of the triangle brace and operate the flp arm below it from a switch on the throttle. Ill will need to pick up a small clevis joint and rod from the hobby store to operate the sensor.


Dad worked on assembling and installing the aileron servo for the auto pilot. He widened out the hole in the longeron where the aileron push-tube passes through and connects. We are holding off on mounting it to the floor until we can remount the right wing and check for clearance of the push-tube.


While he worked on the aileron servo i worked on the bellcrank and the brackets for the pitch a/p servo. I took out the old bellcrank brackets and match-drilled the new brackets per the instructions and re-installed the bracket. Removed the bellcrank and drilled the hole for the arm of the servo rod to attach again per the instructions. Reassembled everything and stuffed the wires away to be hooked up later.


I attached the OAT sensor here are the last turtle-deck bulkhead not realizing that it will interfere with the tail be mounted and will have to be removed and relocated. Not before I secure all the wires with some ingenious methods -that made it even harder to relocate.

We pulled some slack out of the main harness going to the ADHARS, enough to connect the servo and still had enough to retain service loops where I wanted them.


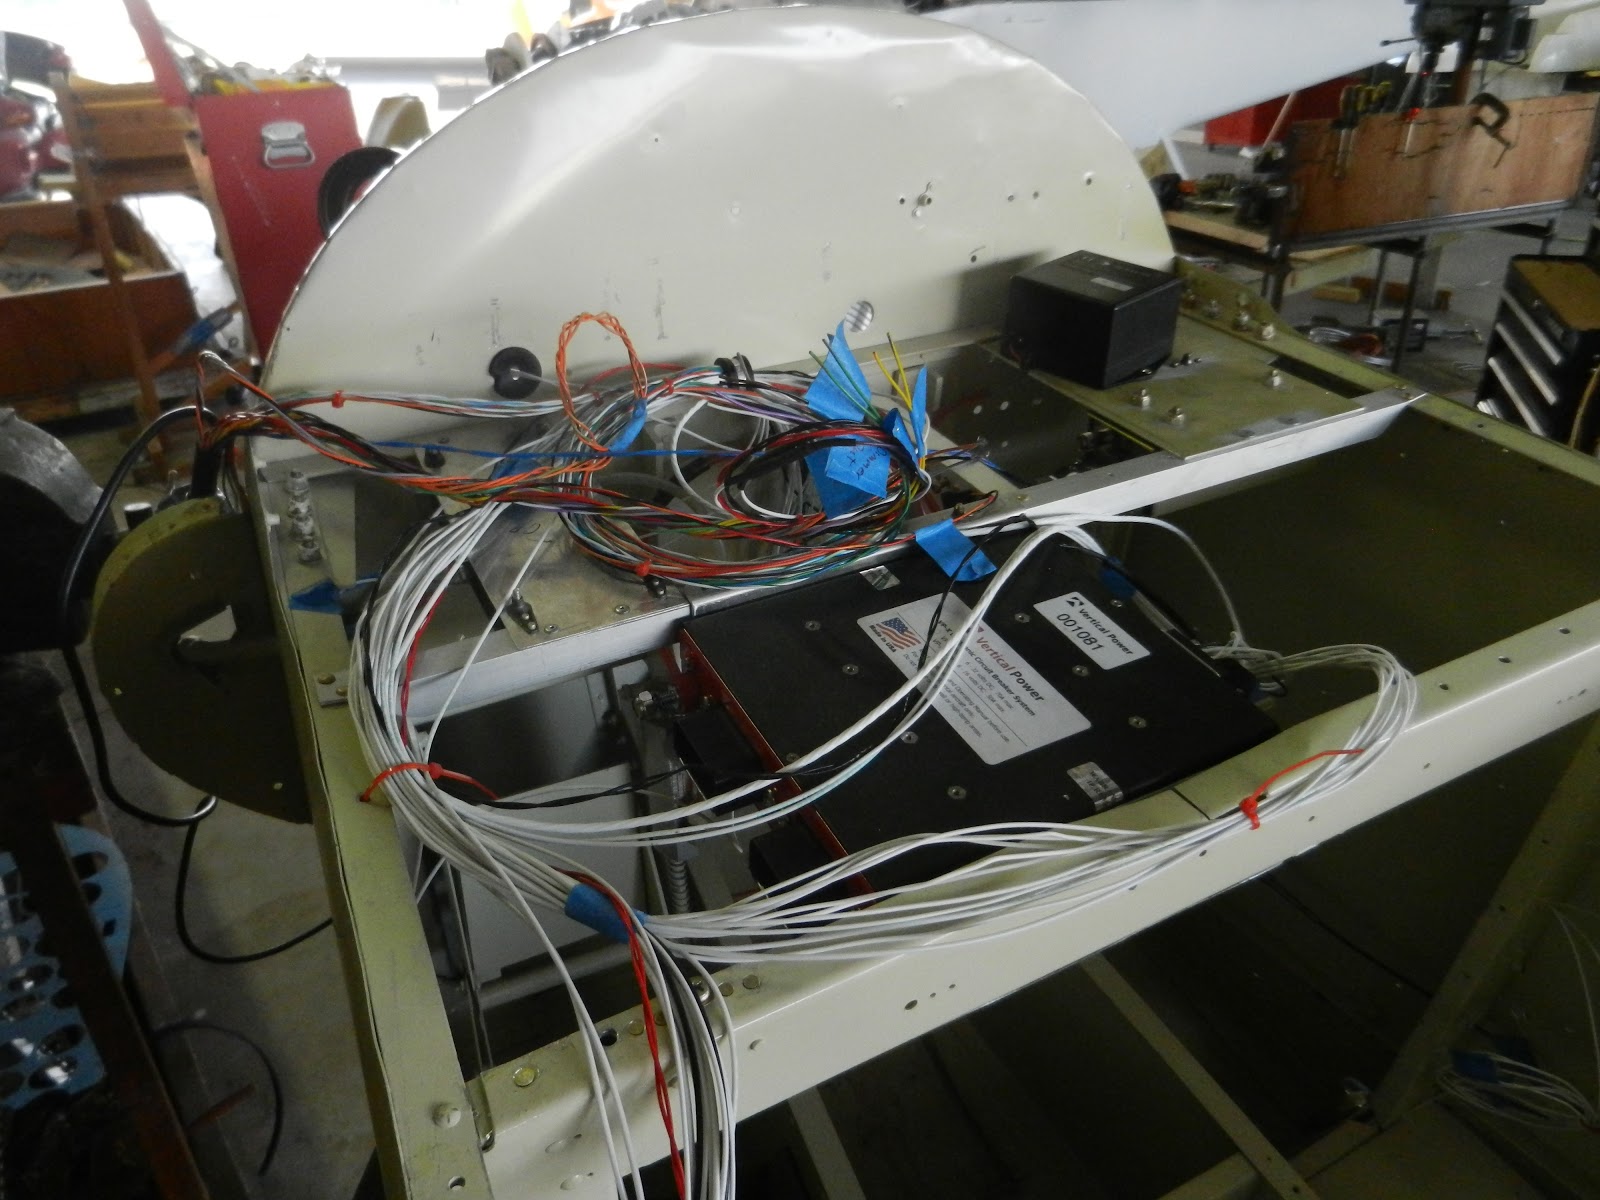
I guess I was supposed to buy the Dynon connecter harness that has 5 connectors and makes nice and neat way to add or remove/change components but I just spliced into the ADHARS lines and ran a separate power and ground. Per the Dynon instructions each servo gets its own circuit and I will ground them locally. the yellow wire  goes to the A/P disconnect on the Infinity grip. (black button half way down)

Trying to keep the wiring organized and for as simple as this set-up is I still manged to get a plate full of spaghetti. Ill see if I cant clean this up before its buttoned up and called done.


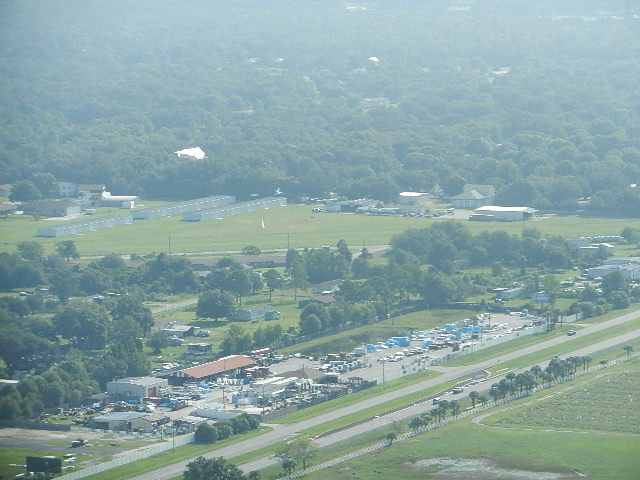
One last look at the slow motion resurrection of this RV-4 before we load up and fly home.


Home again after a hard days work. Beautiful sunset on the Peace River as we approached PGD to hanger it up until next weekend. Thanks for all your help, love and support Dad. 


Tuesday, October 16, 2012

VP-X

Vertical Power's VP-X...

...Mounted


I arrived at South Lakeland a bit later than normal and had just got the 172 tied down when the group of RV-4's I had seen parked over by the T-hangers, started up their motors and taxied onto the runway. I was hoping to get a closer look at these pilots birds but no dice.


 I watched as they took off in groups of two and then went back to unloading my cooler and heading over to the corner store for a bottle (glass) of coke. Jay was there when I returned and said that he was trying to source a new tail for my -4 and that those guys were down from Jacksonville and may have known about one.


It turns out that after getting the old tail feathers primed it was pretty evident just how rough they were. i was contemplating updating the tail anyway to get the newer thinker skins but have read that if instlled correctly the thin skins can do just fine. ...and be lighter in the end too. (No pun intended). I looked into installing an -8 tail and even talked briefly to a guy who had done just that to his -4. The differneces being that he had an IO-360 and C/S prop to balance out the added weight. I have an 0-320 and a light weight 3-blade Catto prop so that sounded pretty iffy. I then found out that the difference in weight is a whopping 9lbs so that killed that idea. Back to looking for a -4 emp.


 Jay had been pretty busy it appears during the week while I was away. He had the tail all primed up as I mentioned above but he had also primed the rest of the fuselage and the wings too. It is very nice to see some progress that I didn't have to do and appreciate his efforts immensely. It was ready for prime, i had bee sanding and prepping on the wings, tail and fuselage every time I wasn't sure what to do next and hadn't really run out of prep items to do but had run out of patience doing them. So I'm really happy to have it primed now.


 With y mock panel in place and my paper cutouts providing some bit of inspiration I set about making the bracket and installing the VP-X. Its going to be a pretty basic panel in that I have a bit of room to work with being such a small area to work in if that makes sense to anyone but me..


 I thought about it and decided to put it pretty much in the middle. That should provide the most space for the harnesses that enter on both sides of the unit.Those Ethernet ports are not going to be easy to get to so I may end up installing an extension and a port in the panel along with some usb ports for the Dynon SV and maybe an audi in port or something.

 I wanted to be able to take it out easily from the bottom since I'm still planning on making this thing a slider canopy and have not worked out top access to the area behind the panel yet and I'm not sure It will be feasible to do. I installed the cross brace and some nut plates. I made a bracket for each side of the unit and installed them in such a manner that it would be a straight shot for the screwdriver. The brackets being the way there are will hopefully keep the unit from falling on my face upon removal in the future.


 As seems to be the norm this time of year, the afternoon storms threatening reminded us that we needed to get going on home.

 We diverted slightly around a few more cells and had mostly clear skies by the time we neared home.

Monday, August 20, 2012

Prime time

On a right down wind for runway 14 at South Lakeland, arriving to chip at away at this resto...


When I got to the plane and started looking over what had been done so far I noticed this helpful little note of instruction penned on my new turtle deck. It says "Take the Whitney Punch and punch out slugs .030 thick, then to use the Mushroom set to drive the slug into my miss-drilled holes; like a rivet.

So the next time the skin came off we did just that and it worked perfectly. Next time Ill still be more carefull drilling. These holes resulted from my back drilling the hold to diverge from the line.


I forgot to mention that last weekend we did get a few things. I have been cleaning out the interior as we have gone along and had it to a point that I was ready to put some paint down on it. Im sure there were better methods but I cleaned all the adhesive off the inside wiped it down, prepped it , masked it and sprayed it with about 3 rattle cans of "Appliance Paint" in Almond color. After having let it cure up during the week I found that it had set up nice and hard. It passed the fingernail test, so Im pleased and Ill be able to touch it up anywhere there is a wolly-world.
As I mentioned before I'm going to relocate the radios to the right hand side if I can work out the clearances.


This is a little rendering I taped up to signal to Jay that painting the damn thing Yellow what not on my mind. I really would like to paint it flat black but have been talked out of that due to the way it will show fluid stains, forever. So then I still think a semi-gloss black or even full gloss would be good. I understand that with black fuel tanks I may need to not fill them up all the way. Or maybe no more then half if it will be on the ramp for any amount of time, but I'd like to keep it hangered of course. I do not think that it would be any hotter than any other color other than white. As a second choice I like the scheme below. I am partial to the Rockets that are sporting camo schemes, but dont care for the p-51 look; I like the actual camo schemes. Still thinking about it all. Jay said earlier that he wanted a line of demarcation so that we could paint the bottom and then the top and if I picked a solid color I would have a line... Not  sure ho other people have done it then... He is also pretty intent on the fact that I would have to buy him a gun for each and every color I may want other than yellow and white. Im not sure at this point if he is serious or still just antagonizing me about the colors.


I pulled the clecos out of one side and across the top so that I could drill and add some more rivets to the old/new bulkhead joint.


While it was still opened up on one side and since we already had the underside primed we started pounding the rivets that were accessible.
I did the grunt work and Jay and I worked out our communication and got our method down before closing it up and having me crawl inside the tunnel of boom.
I really think I got the short end when it came time to pick jobs.
The first row looks great so its on tho the rest of them now.

Although it may look like I am giving my fuselage a giant hug, It is just where I grabbed it to wheel it out of the hanger for a coat of primer on the turtle deck.


Before

A little pride in ownership pose...
It is pretty clear in this picture that when the guys on VAF say "loose some weight" or "go on a diet" as the best solution for any number of given issues, it simply inst going to work for me...


After (and out of focus)

Sunday, August 19, 2012

Sam James Visits South Lakeland

Sam James Visits


Sammy stopped in today with his wife and brought his photo album of his build of his -4 for me to reference if I need to. I'm sure it will be an invaluable help.


Here is a view of my mock-up instrument panel. I'm planning for the Dynon SV7 on the left with a 6 or 796 in a gizmo mount on the right side. I want to leave the space bl Dynon hardware releases such as the comm that they have in the works. They say that the units face will be about business card sized so I should have room for two side by side. I wanted to keep the current comm and xcom close together to cut sown on interference but also wanted to be able to manipulate the controls with my left hand since my right should be on the stick. For that reason I have relocated them to the left side of the panel. Ideally I will come up with a method to make the instrument panel removable for future upgrades. On that note I am second guessing installing the gizmo mount for the Garmin GPS. I could just use a ram mount and would have infinite adjust-ability to avoid sun glare and additionally if I ever upgraded to SV1000 and moved the SV7 to the roll bar for the GIB Ill need to relocate anyway.

I didn't get a lot done today, we arrived to Jay's kid of late and spent most of the daylight chatting it up with the guys.


Monday, August 13, 2012

Cutting the Turtle Deck

Cut to fit


The Harmon skin/turtle deck was not an exact fit so we lines up one side and rolled it over the back and bulkheads drilling as we went. When we got it folded around (as expected) there was an excess lip that needed to be trimmed off along with the excess in the from at the rear passenger's seat bulkhead.

A friend of Jay's and metal master stopped in and we enlisted him to make the cuts.


With the excess areas trimmed away we re-cleco'd the skin to the frame again and I have to say I'm pleased with the looks I just hope the transition isn't to bulbous where it will meat the canopy at.


It doesn't seem like much but it took the better part of the day so we loaded up and flew back home until next weekend.

Sunday, August 12, 2012

Canopy Delivered


Canopy


The canopy i ordered from Todd's Canopies came was delivered to Jays this past week and Im very anxious to see it. We pulled it out of the box and it looks marvelous. I ordered a Harmon Rocket canopy and had it tinted light grey. Todd called me as it came out of the mold and told me it was one of his best and had not a single imperfection anywhere.  replacement canopy at half price if I break this one. The cost was very competitive as well  to say the least.


We laid the canopy in place and began to figure out how much we want to take off the front. In hind sight I would have rather got the canopy all mocked up and built the turtle deck up to a height to match and avoid an ugly transition from the canopy to the turtle deck. By ugly i mean not straight.

We ended up trimming about 2 inches off the front and ended up calling it a day as the weather was gathering and we needed to fly home before hit hit.


We dodged a few cells on the way south to Punta Gorda but didn't stray to far of course.